


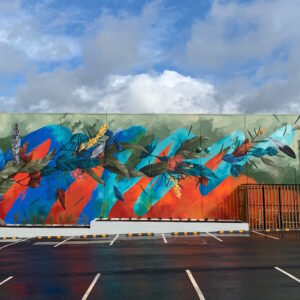
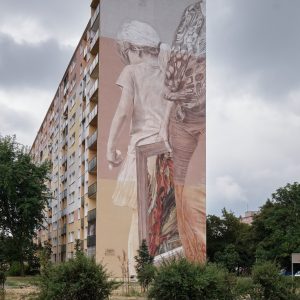
Since March this year the ongoing project ArtUnitedUs has collaborated with artist from around the globe with one mission, to raise public awareness and attention to the problem of war, aggression and violence, bringing instead a message of love and reconciliation.
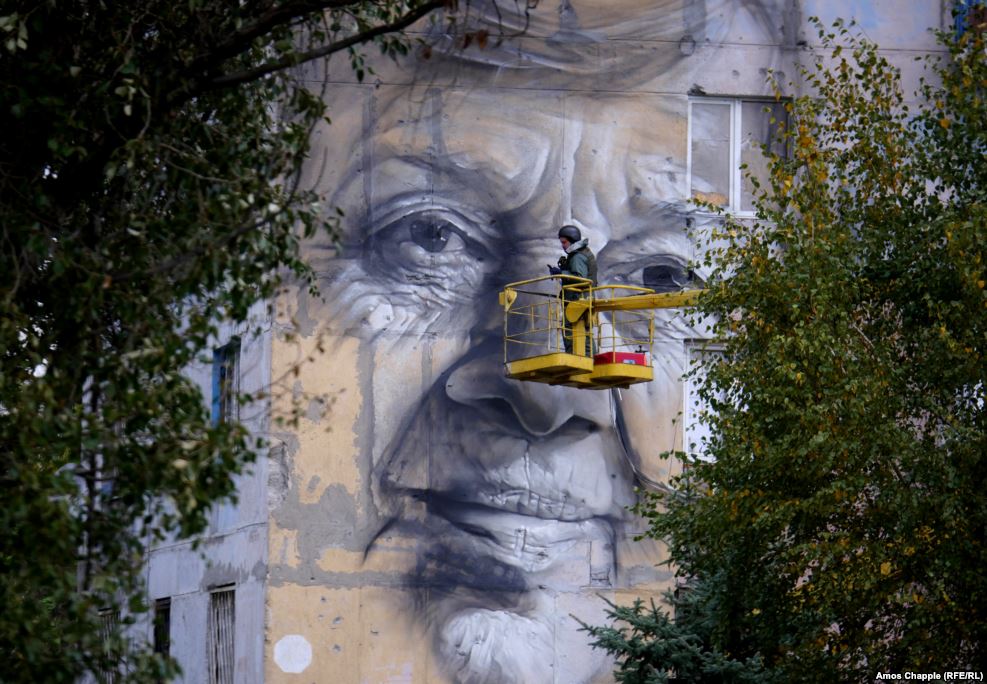
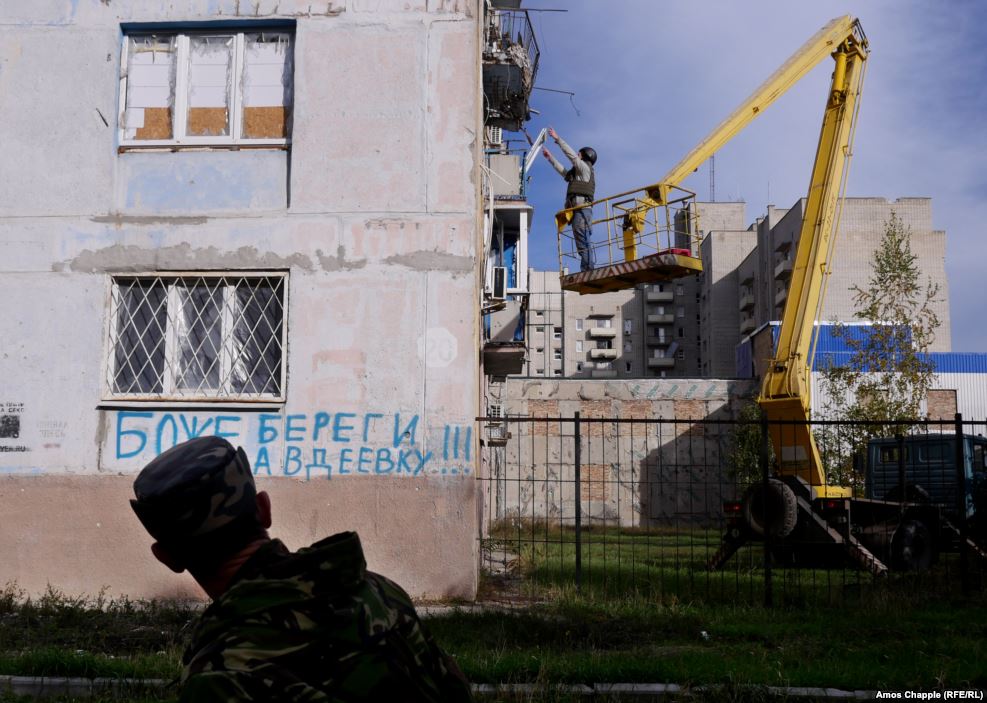
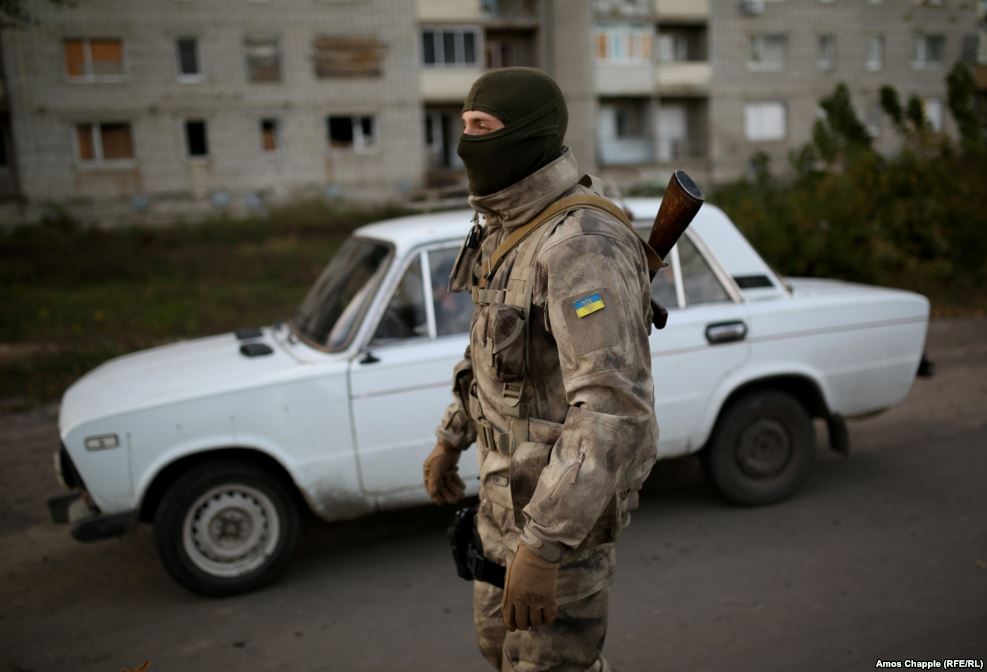
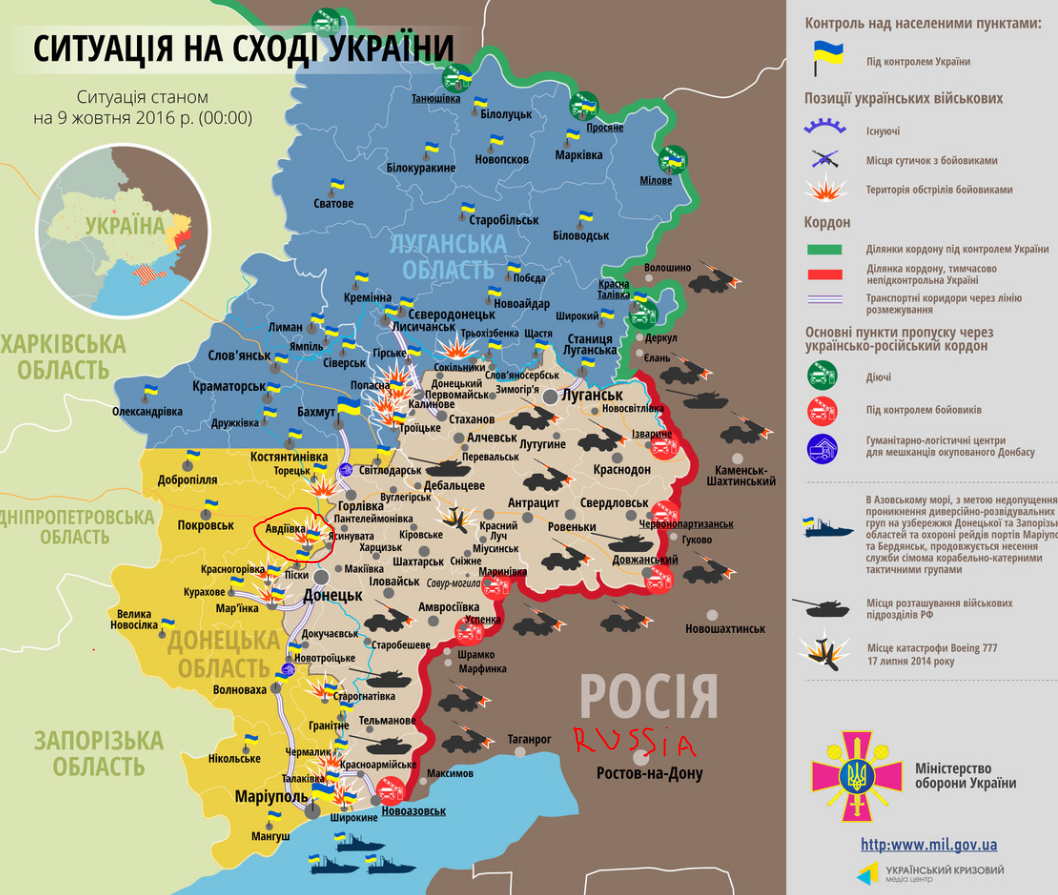
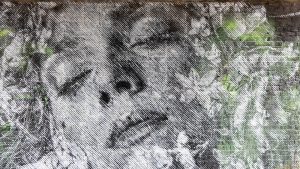
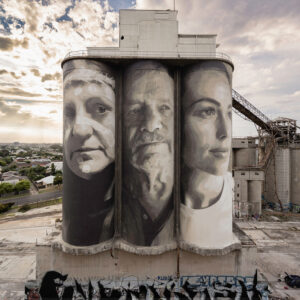
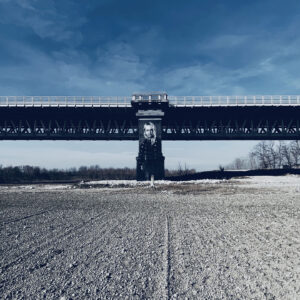
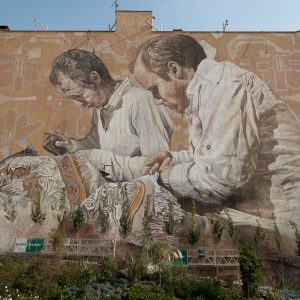
With this idea in mind Australian artist Guido van Helten completed a couple of days ago a large-scale mural in Avdiyivka, an eastern Ukrainian town where fighting between Russia-backed separatists and government troops still takes place 2 1/2 years after the start of a conflict that has killed more than 9,600 people.
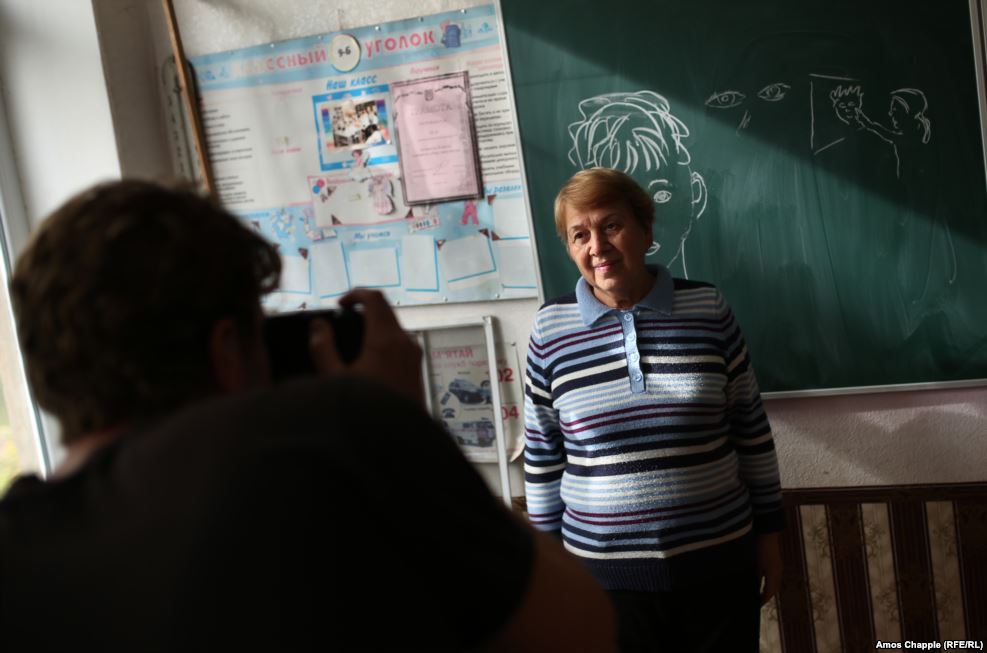
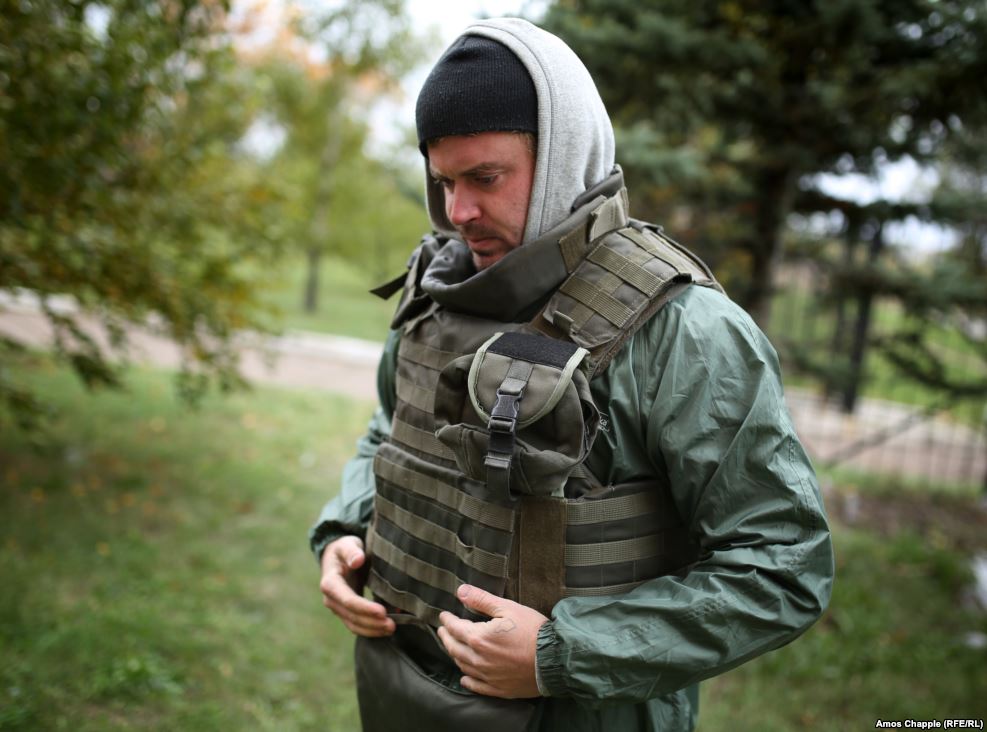
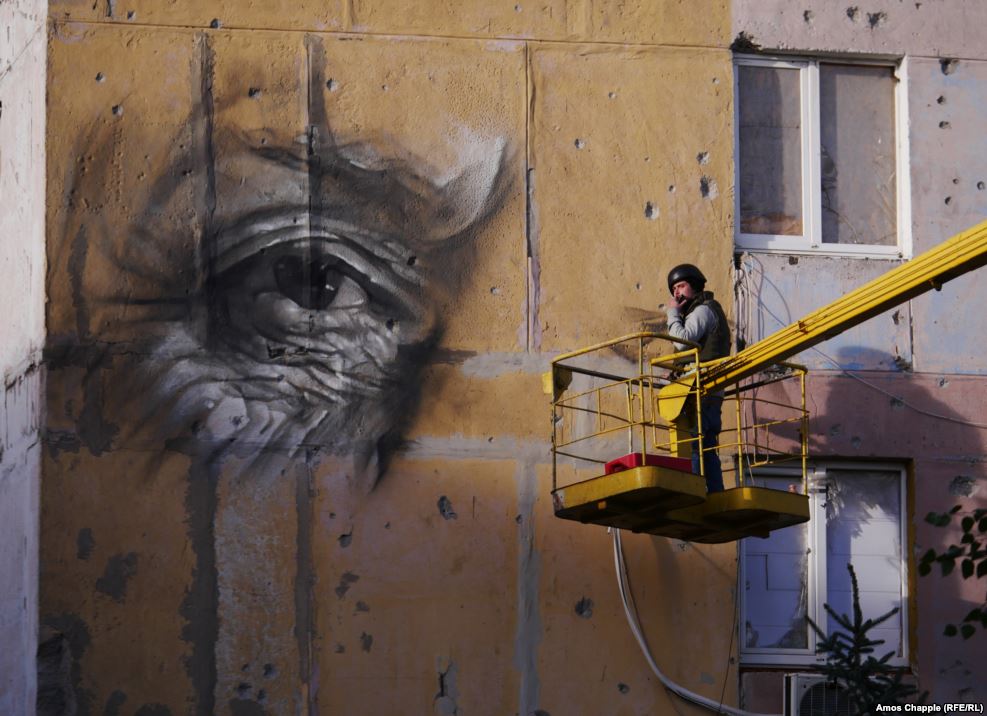
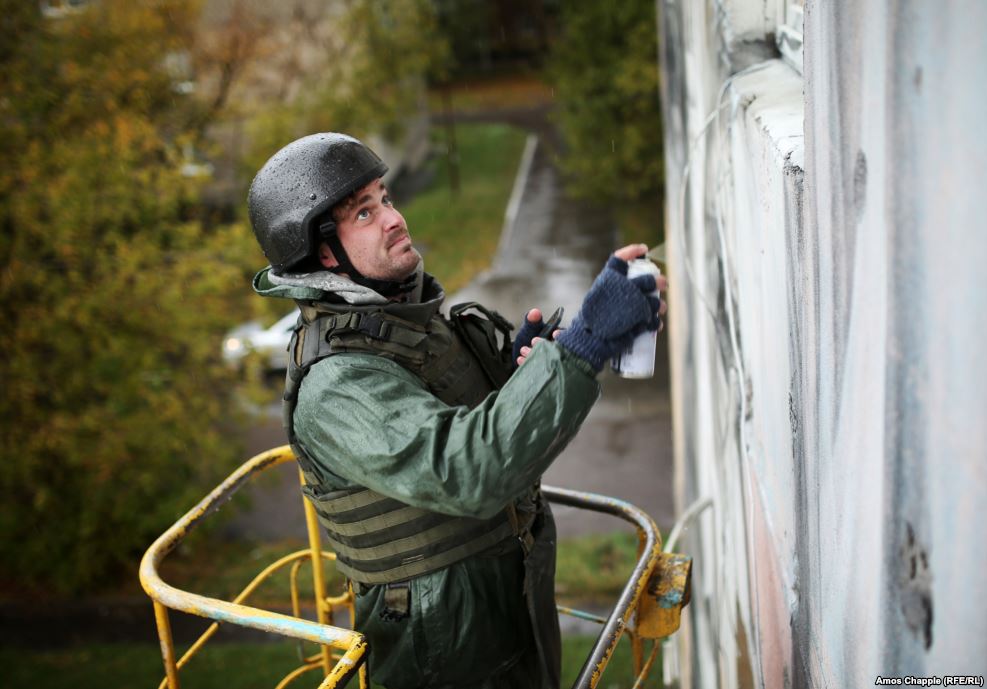
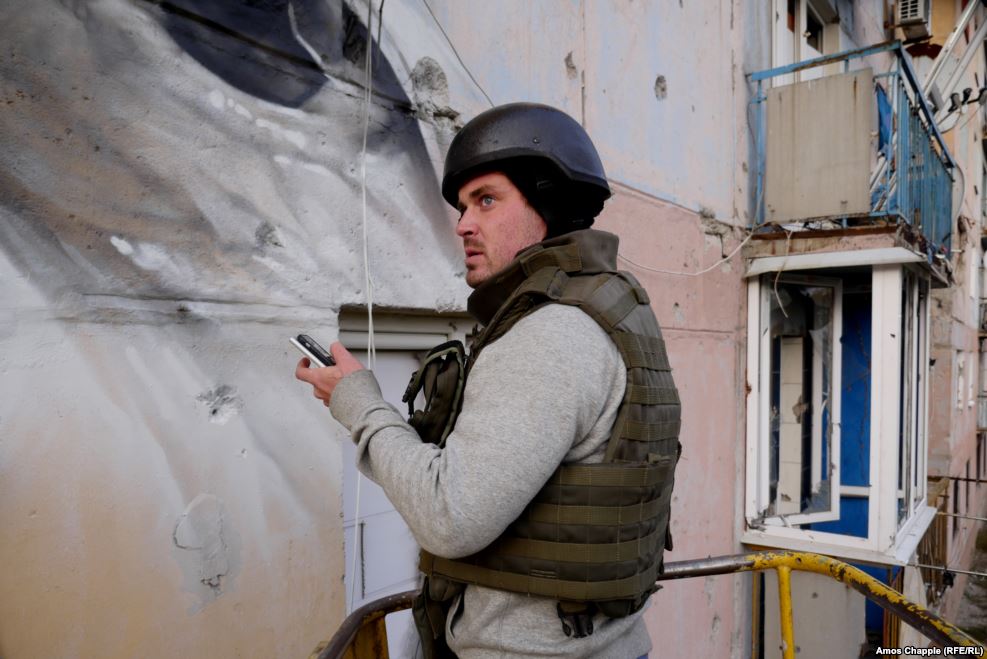
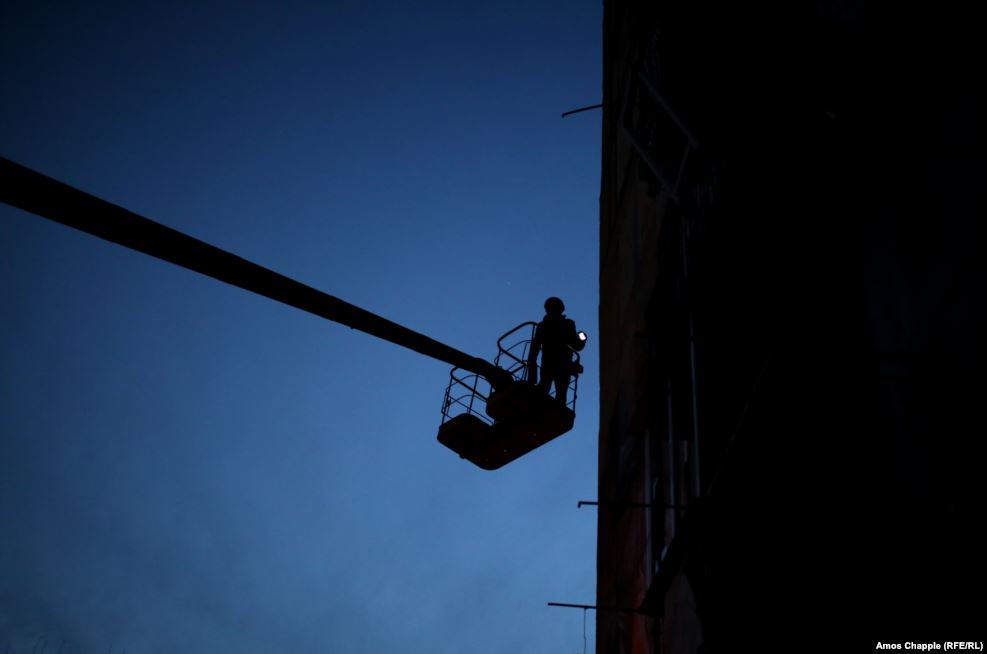
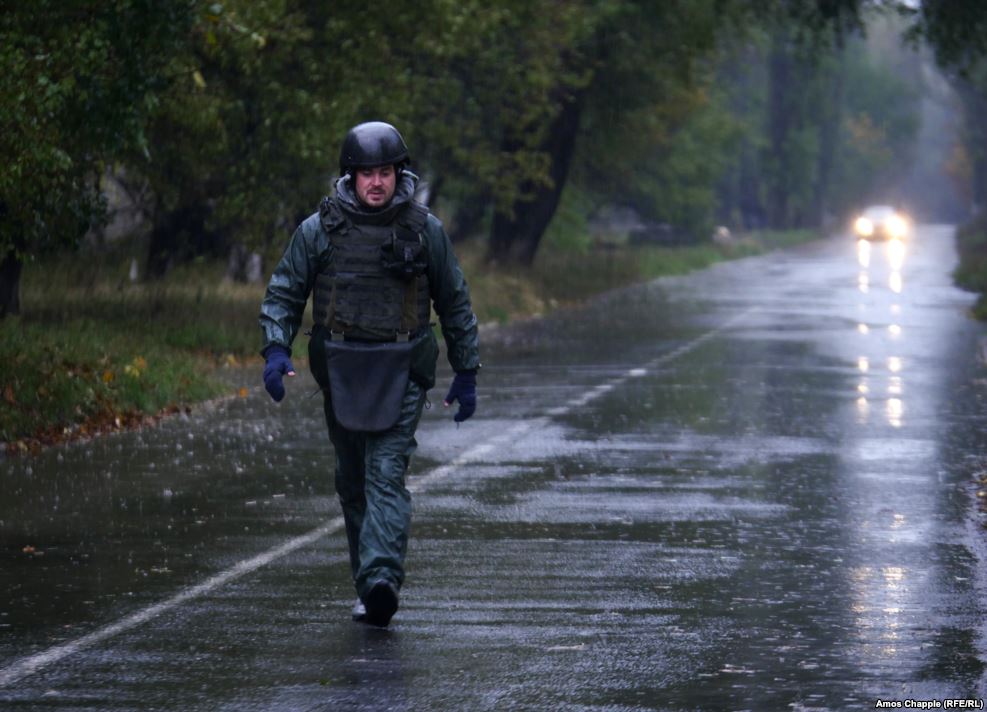
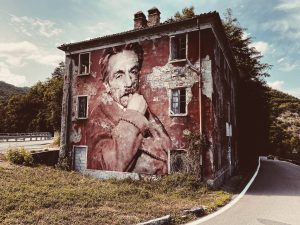
The mural features the portrait of Marina Marchenko, a 73-year-old teacher, photographed by van Helten shortly after his arrival in Avdiyivka. Never being in a conflict zone before, Guido van Helten spent two days wearing a bulletproof vest and helmet and working on the wall he had chosen, a wall facing the front lines and therefore visible to separatist snipers. It wasn’t an easy assignment, on both days van Helten worked on the mural, the boom of mortars and rattle of machine-gun fire were present, specially during the late afternoon, so was the insecurity that something could go wrong. But the wish of giving something to the people who lived there was stronger, the wish of bringing some joy to them.
“These people have probably never seen anything like this…. If I can give them something to think about that isn’t war — even for a moment, then it’s worth it.” – Guido van Helten
Without making a formal statement, Van Helten’s mural, organised by ArtUnitedUs and curated by Geo Leros and Iryna Kanishcheva, sends a strong message, not just to the people in both sides of Avdiyivka, but also to the world.


comment